
How to Fix a Washer That Won’t Drain
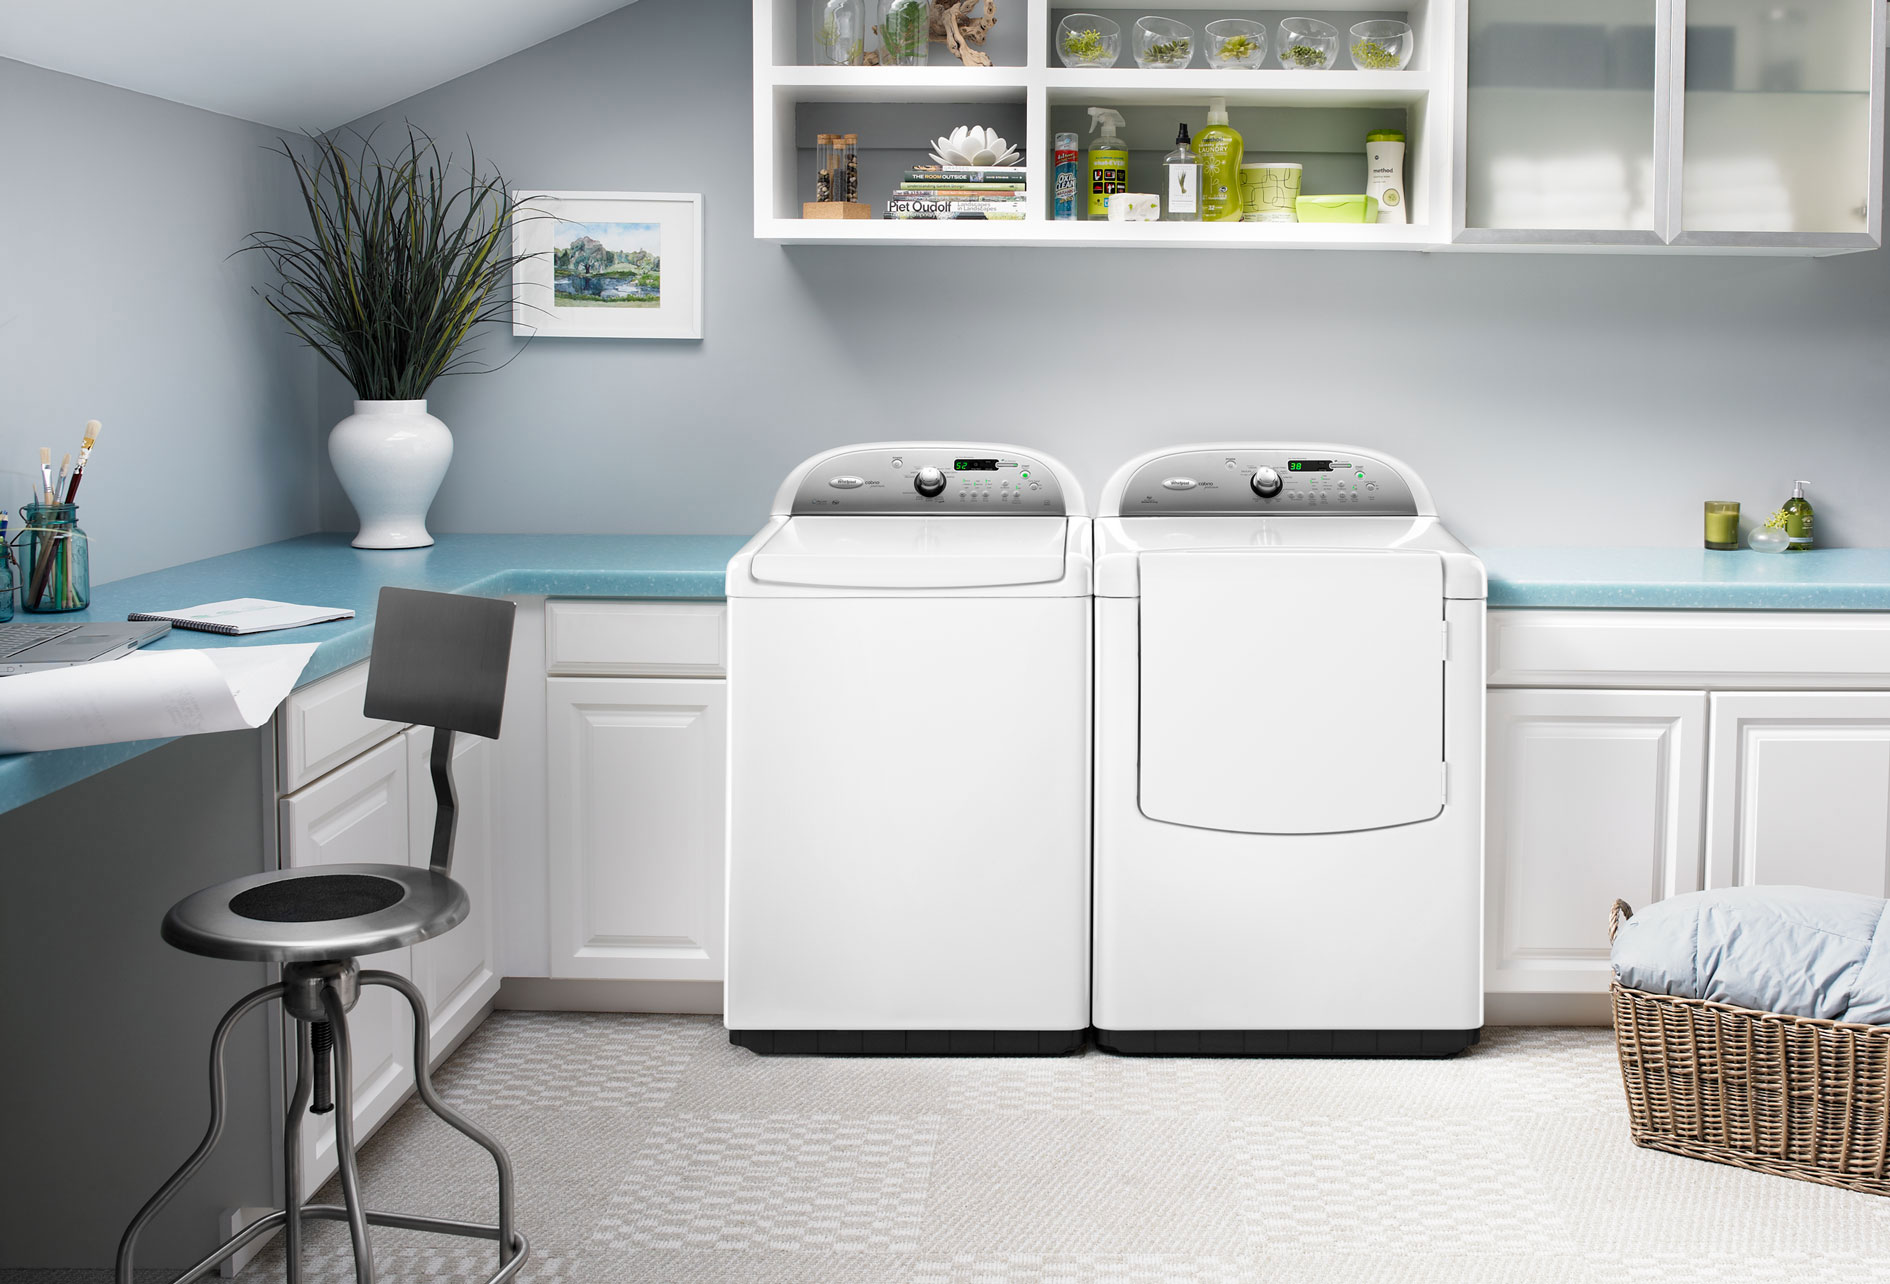
If your washing machine doesn’t drain, you probably either have something stuck in the drain hose or pump or the pump is broken. If you are handy, you can check to see if there is a clog and clear it yourself by following the instructions below. If this sounds too daunting or you find that your pump is broken, contact Home-Tech today! We are here to help, 7 days a week – even on holidays.
1. Check the Lid Switch
2. Unplug the Washer Before Checking Anything Else
3. Check the Drain Hose
4. Empty the Machine
5. Remove the Access Panel
CAUTION: This is not always an easy task so please take caution if you decide to do this step. The pump is at the bottom of the washer, either in the front or the back. Look for 2 small screws at the bottom of the front panel. If you don’t see them, your access panel is probably in the back (although some washing machines require removal of the entire shell). Check your owner’s manual for the most accurate information on accessing the pump.
The panel can be heavy so get a good grip on it with one hand (so it doesn’t fall) and remove the screws from the bottom of the access panel with the other. With two hands at the bottom holding firmly, pull the bottom of the panel out toward you and then slowly lift it, unhooking the panel from the top of the machine. Set the panel aside.
6. Check the Pump
At the bottom, inside the washer, you will find the clear or white plastic round shaped pump with the drain hose going into it as well as another hose attachment. Have a bucket handy and possibly a shop vac. There is still a lot of water in the tub even though you cannot see it. When detaching the hoses, remove the one between the washer and the pump slowly and drain it into the bucket. Inspect both the pump and the hoses for a clog. If you cannot see one, insert your finger to feel for one. Usually a small piece of clothing or lint causes a clog.
Remove the clog if you find one using a needle-nose plier. If the clog is in the pump, feel underneath the machine to find the pulley below the pump and twist it to help unwind the clog, pulling the clog out slowly so you don’t damage the pump.
If there are no clogs, insert your fingers into the pump to feel for damaged pieces. Of course if you see any cracks, warps or broken pieces on the outside of the pump, contact us to replace it. (Please note: our highly trained technicians will need to go to your house and diagnose the problem themselves, which could be something else or a combination of things.)
Reattach the hoses to the pump making sure they are not loose so you don’t end up with a leak while the machine is on.
7. Test the Machine to See If It Works
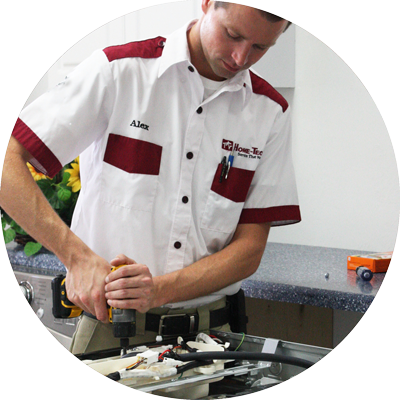
Need Professional Help?
If you decide it’s time to call the professionals, please contact us! We can get your washing machine back up and running again 7 days a week – even on holidays. With on-site monthly training, Home-Tech’s technicians are always up to date on the latest appliance repairs. They are highly trained in their field and can repair ANY brand.